Dirt Installation Services Overview
This page explains dirt installation services and helps compare local contractors who handle the work.
- - Residential property owners seeking to install or update dirt landscaping or yard areas.
- - Commercial site managers needing professional dirt installation for construction or landscaping projects.
- - Property developers looking to connect with local contractors experienced in soil grading and dirt work.
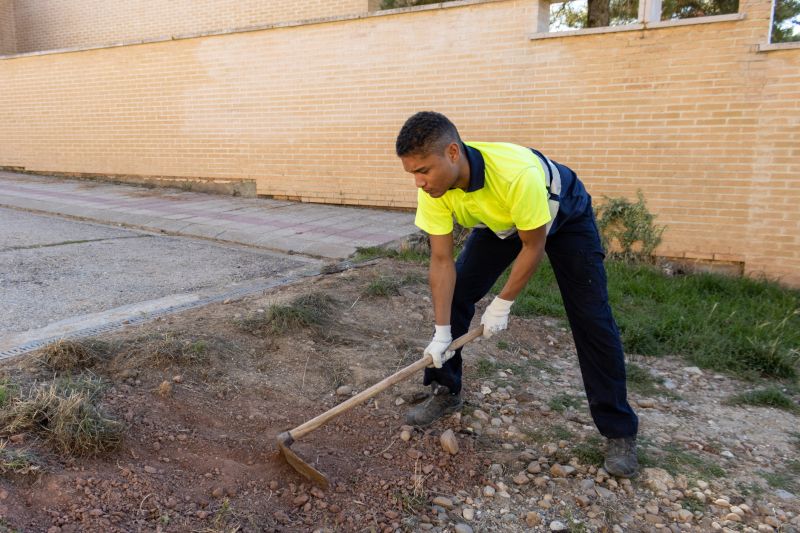
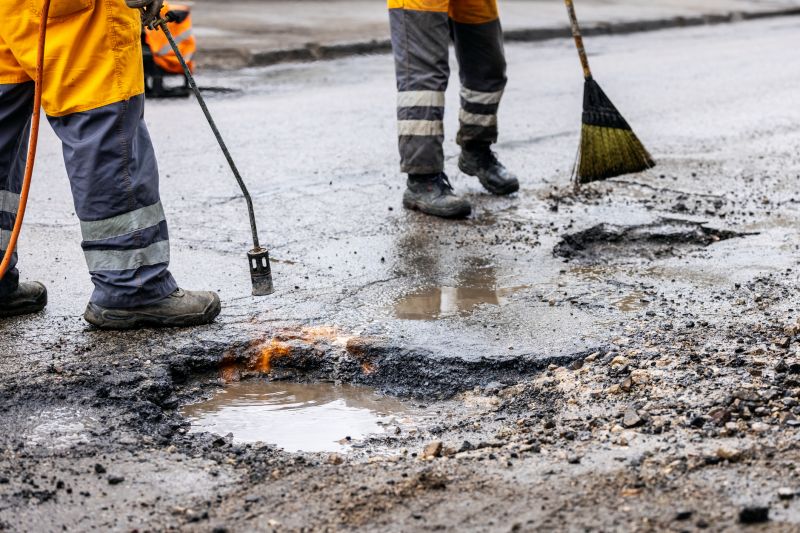

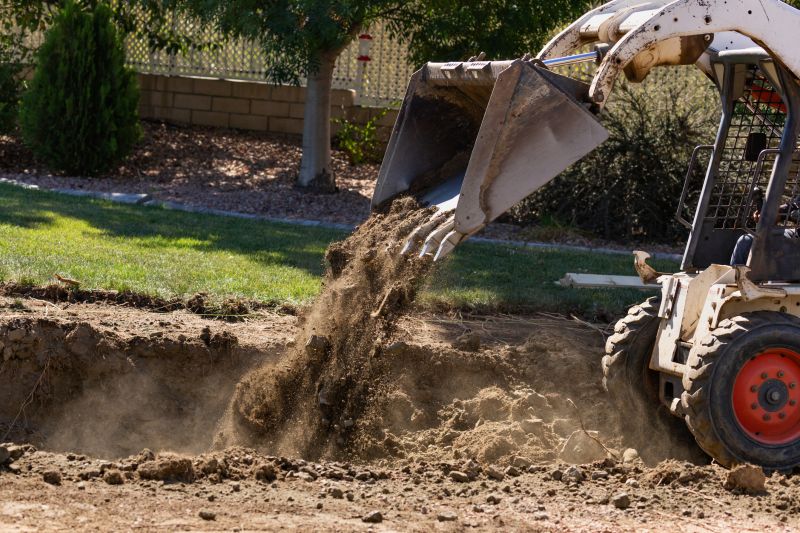
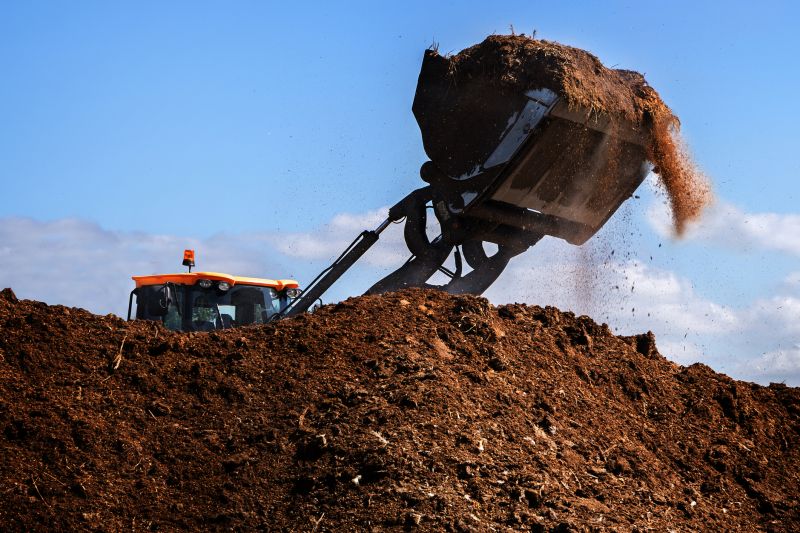
Dirt installation services involve preparing and shaping outdoor landscapes by adding or moving soil to create a stable foundation for various projects. Property owners often seek help from local contractors who specialize in grading, leveling, and soil placement to ensure proper drainage, prevent erosion, and achieve the desired landscape design. These professionals typically handle tasks such as filling low spots, creating slopes, or preparing land for landscaping, construction, or other outdoor improvements.
Local service providers in dirt installation are experienced in managing different types of soil and terrain conditions. They work closely with property owners to understand project goals and provide practical solutions tailored to each site. Whether for large-scale landscaping or small repairs, these contractors can assist with the necessary excavation, soil delivery, and compaction work to support long-lasting results.
This guide helps visitors understand the key factors involved in dirt installation projects, making it easier to plan and prepare. It provides insights to compare and connect with local contractors who specialize in this type of work. The information aims to assist in identifying suitable service providers and sharing the basics of a project to facilitate the selection process.